I recently wrote an article on using 1-Touch to restore a physical machine into a VM. Essentially performing a P2V conversion as part of a system recovery. It's since been called to my attention that there can be an easier way.
Simpana Service Pack 4 introduced a new feature combining functions of 1-Touch with a P2V tool. The end result is that it can be very easy to restore a failed physical machine into a VMware VM. A word of caution here, the functionality requires that 1-Touch is installed from the SP4 install CD set. If your 1-Touch install is from an earlier set you must uninstall and re-install using the SP4 media (no you can't just patch to SP4).
You must also be using boot .ISO files generated from the above 1-Touch installation, and copy them onto a datastore on your ESXi Servers. You must also have backed up the system you want to restore in it's entirety so that there is a complete operating system to restore.
With those caveats stated, let's talk about using the new "Virtulize Me" feature.
Start Virtualize Me Wizard
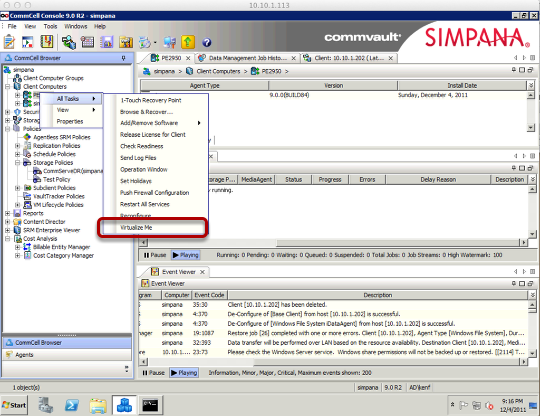
Select the server to create a VM from, right click and select Virtualize Me.
Specify the Destination

Select your vCenter server, once selected from your installed Virtual Server Agent instances you can browse for the datastore and boot .ISO file.
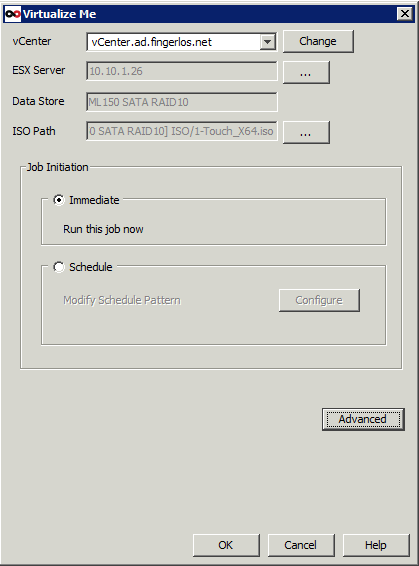
Enter the information about where to create the new VM. You may also want to investigate the setting under 'Advanced' to resize the VM to be something different than the original was.
If you have Virtual Server agents installed you should be able to browse for all the required information.
Select "Immediate" to run this job now, then click Ok.
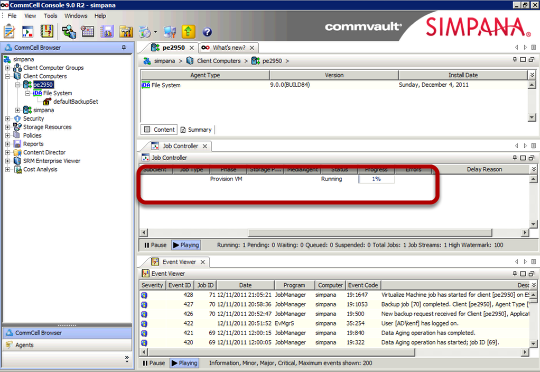
The job controller will show that the job has been submitted.
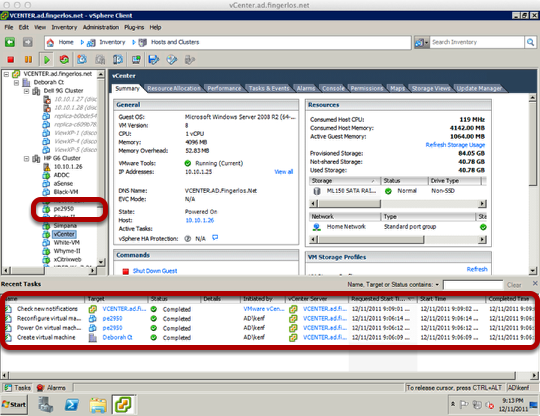
On your vCenter server you can see that the VM has been created, and is powered on.
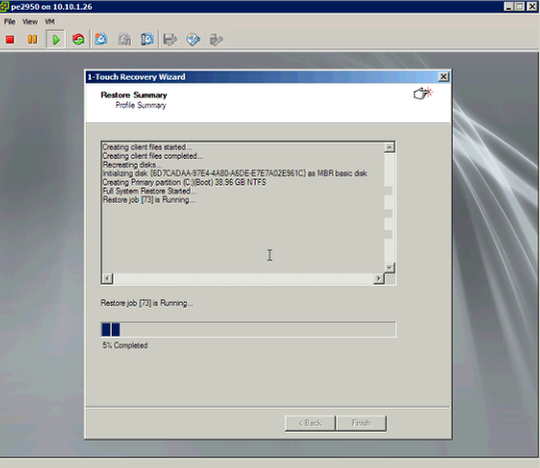
Opening the console of the VM you can observe the progress of the restore job.
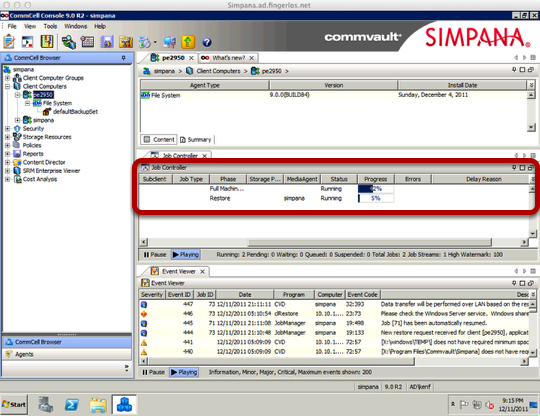
You can also watch the progress of the restore from the CommCell Console.
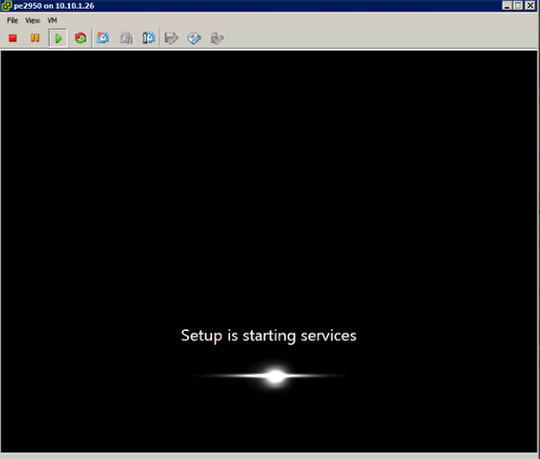
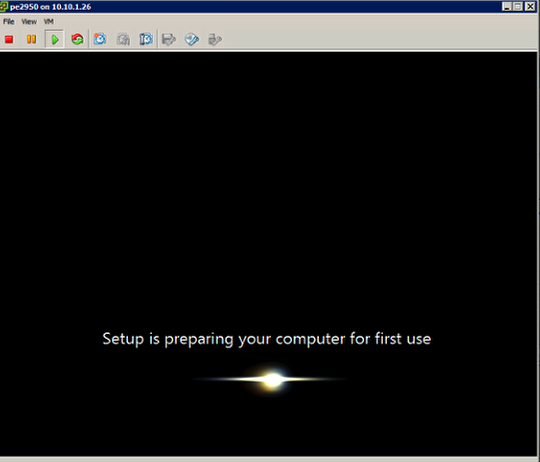
After the restore process completes, the VM will reboot. It's going to do some setup (courtesy of the sysprep mini-setup).

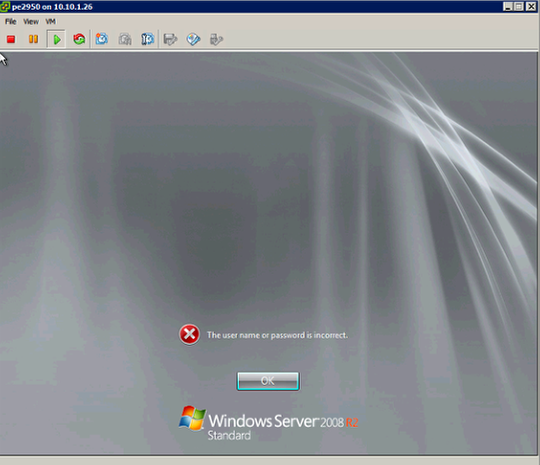
When faced with the login error, go ahead an login as the local administrator. Don't panic though when it flashes a sysprep dialog and logs you out ... this is expected.
The mini-setup will continue on the next boot.
Login again when prompted.
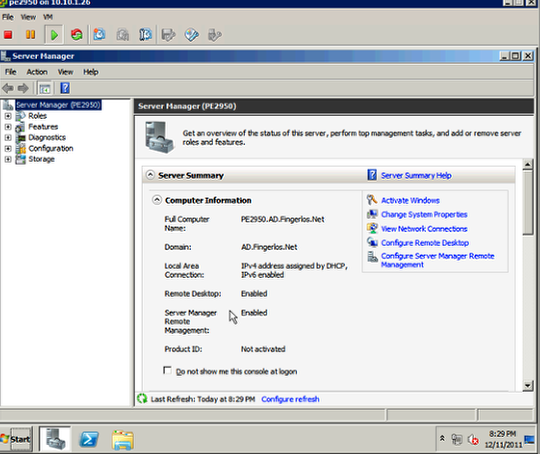
After the login you should find yourself on a functioning, restored system. Note the AD Domain membership.
At this point you probably want to do some additional cleanup, install VMware tools, etc - but the restore/P2V process is complete.