Self service recovery of one or more files from Asigra file system backup.
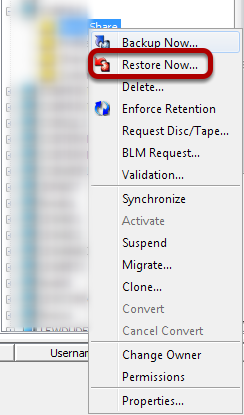
In the DS-User Interface, Open restore dialog for backup set
Select recovery objects
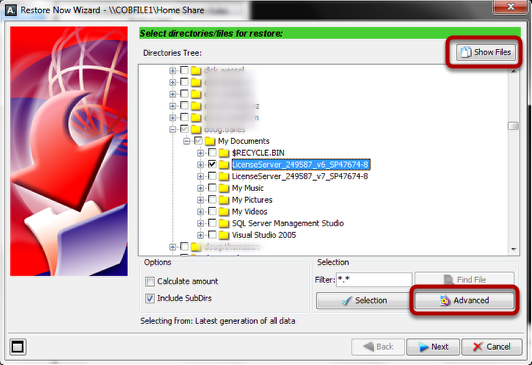
For restore of most recent backup of a directory, browse to specific folder and select that folder.
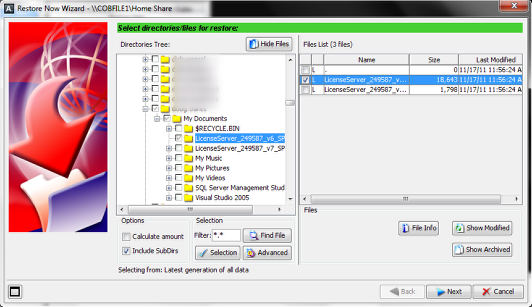
For other options select Show Files or Advanced
Selection of an individual file
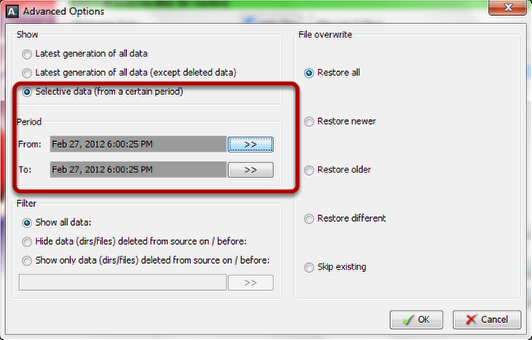
Advanced selection options
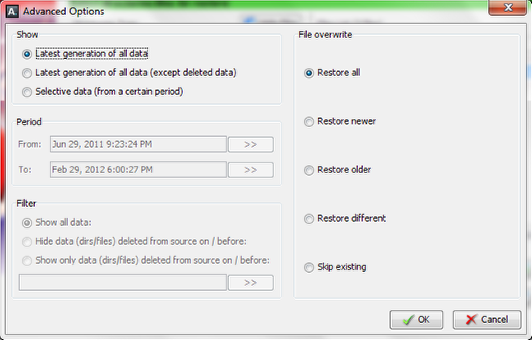
Default is the latest generation of data (most recent backup)
See Asigra DS-Client documentation for detailed description of options
Selection of a backup session for selective data option
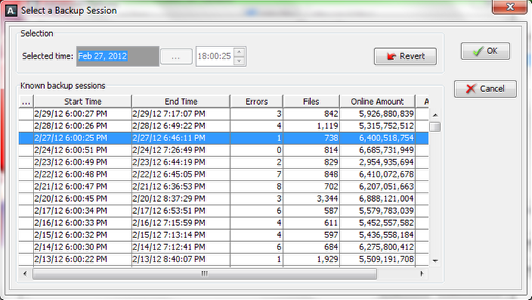
Data selected from specific backup session
Note that not all data will be included in any backup session. The "From" date may need to be moved in order to pick up files which had not changed at the time of a particular session.
Restore files to original location
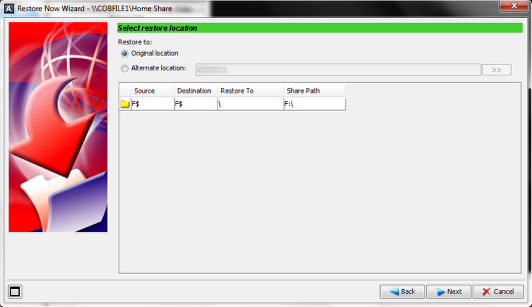
Use this option with caution as more recent versions of files may be overwritten
Alternate restore options
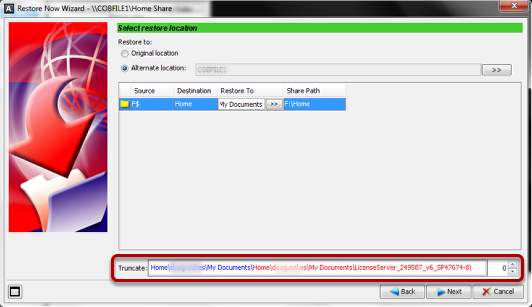
The server, destination share and path may all be changed.
Note that by default the entire directory structure is restored below the destination. The full path is noted in the bottom pane. The path can be truncated (from the top directory shown in red) by incrementing the counter on the right.
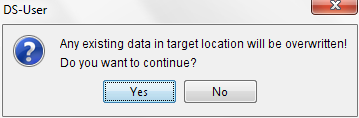
Overwrite warning pop-up
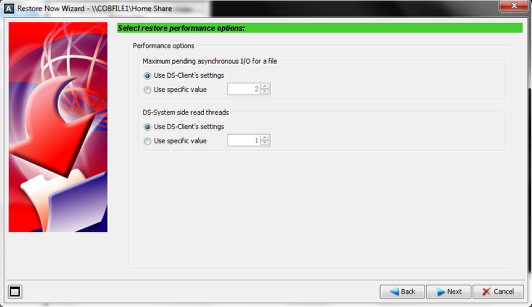
Keep default performance options
Other restore options
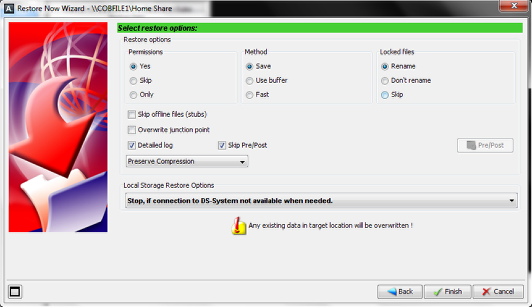
Normally these are left at the default.
Restore progress window
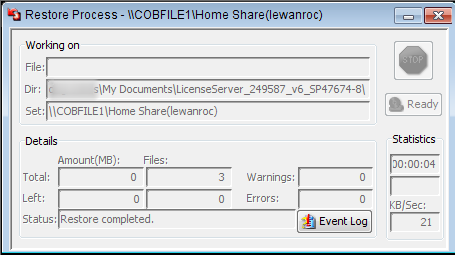
Restored files

Note full path of restore
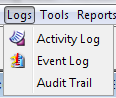
To document the restore open the Activity Log
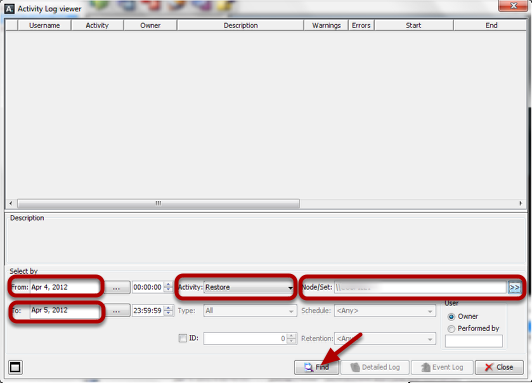
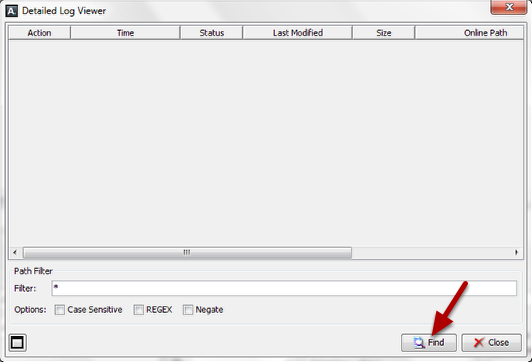
Select the parameters to locate the specific restore job
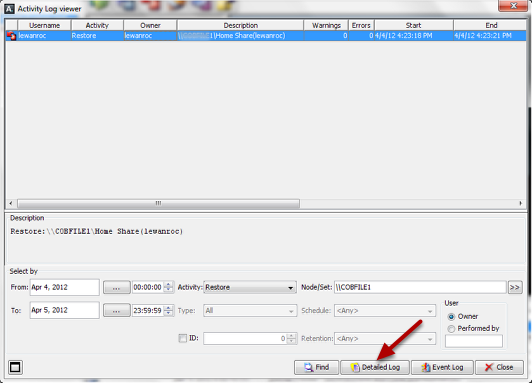
Select the restore job and open the detailed log
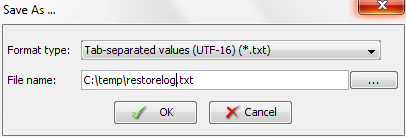
Right-Click on the log entries and select "Save As..."
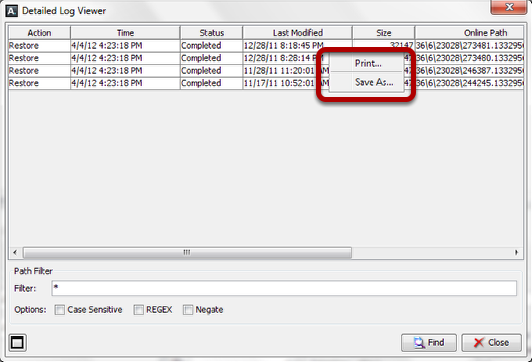
Select a directory location and appropriate name for the log file